Upgrading BudgetLink
Jump to navigation
Jump to search
Overview
We suggest upgrading Budgetlink at least once a year. To do so please follow the instructions below. Click on the hyperlinks to drill into more info
Upgrading BudgetLink
- Install the latest version of BudgetLink
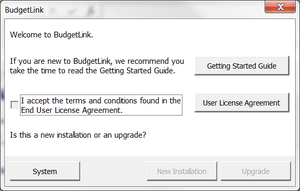
- The start up wizard should begin;
- On the BudgetLink welcome dialogue, read the User License Agreement;
- Tick the I Accept... checkbox to confirm your acceptance of the terms;
- Click on the Upgrade button;
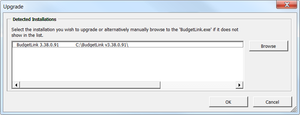
- On the Detected Installations screen, select your old installation of BudgetLink;
- If your old installation of BudgetLink is not listed, click the Browse button and browse to the your old BudgetLink.exe;
- If you have multiple installations of BudgetLink listed, ensure you select the BudgetLink Folder of the current one you use;
- Once the correct installation is selected in the list, click OK;
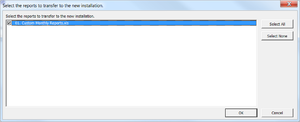
- BudgetLink will detect reports you would like to transfer to the new installation. If prompted, selected the reports to transfer to the new installation and click Ok;
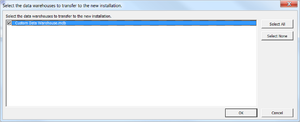
- BudgetLink will detect data warehouses you would like to transfer to the new installation. If prompted, selected the data warehouses to transfer to the new installation and click Ok;
- Wait for the upgrade progress dialogue to complete, then click Close;
- When the Get Data Options dialogue appears, click on the Options button;
- Click on the Versions entry in the left-hand list and double-check and disable any versions you do not need (to ensure the best performance);
- Click on the Periods entry in the left-hand list and disable the Weekly Periods option unless you need it;
- Perform a Full Get Data and start using BudgetLink.


